When it comes to layer chicken cage design, we all know that many different aspects need to be taken into account, such as site selection, scale, internal cage structure, and more. In this post, we will focus on two critical aspects: ventilation system design and pre-laying lighting management for the flock.
Key Factors in Layer Chicken Cage Ventilation Design
Ventilation Volume
Ventilation volume is the core of ventilation design in chicken layer cages. Inadequate airflow can result in poor air quality, while excessive ventilation may lead to cold stress. During seasonal changes in autumn and winter, ventilation should be optimized according to the flock’s needs to maintain proper air quality, suitable temperatures, and stable temperature differences. The calculation formula is:
Ventilation Volume = Average Body Weight (kg) × Number of Birds × Minimum Ventilation Rate
Ventilation Methods
There are two main types of ventilation for layer chicken cage design.
- Natural Ventilation: Used in open or semi-open houses, air circulates through ground windows, roof vents, or side windows. However, it’s less effective in hot weather.
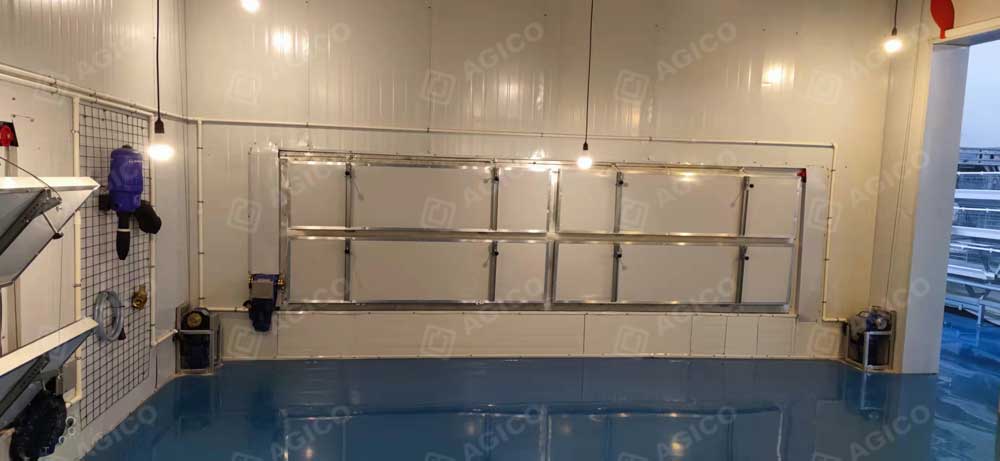
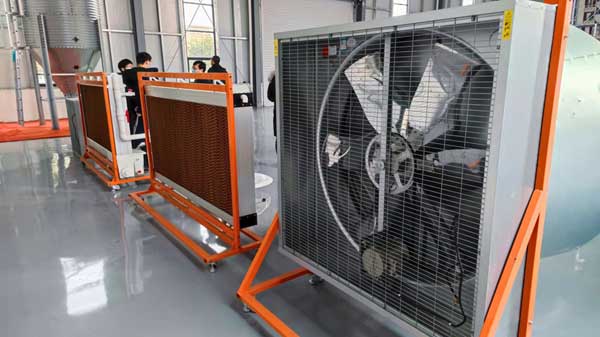
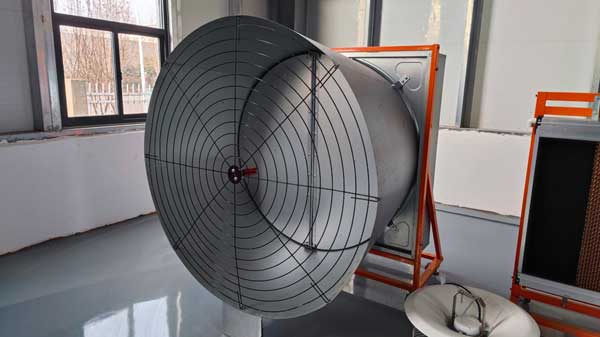
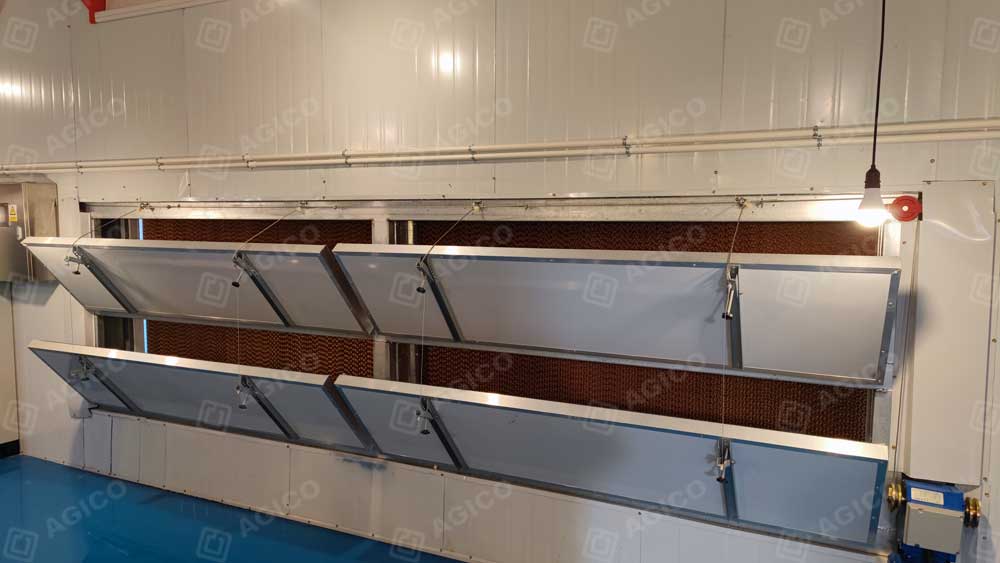
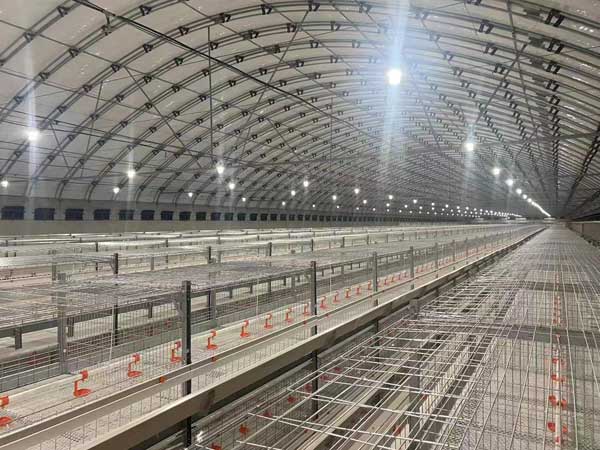
- Mechanical Ventilation: Suitable for enclosed houses, often using longitudinal negative pressure ventilation. Fans are installed on the gable end or adjacent walls, with inlets on the opposite end and side walls, allowing air to flow along the length of the house.
Ventilation Facility Design
Natural ventilation is driven by wind pressure and thermal pressure. To ensure effective temperature control, poultry houses or battery cages must be well-sealed and insulated, especially in winter, to prevent cold air from entering through cracks, causing discomfort and health issues.
For optimal wind pressure ventilation.
- Air inlets should be placed on the windward side at a 30–60° angle to the prevailing wind.
- Outlets should be on the leeward side. Positioning inlets low and outlets high enhances both wind and thermal pressure effects.
If inlet and outlet areas are equal, larger openings provide better airflow. In hot southern regions, inlet and outlet sizes should be equal. In colder regions, outlet areas can be smaller (but not less than half the inlet area) to retain heat without compromising summer ventilation.
To improve airflow distribution, reduce wall width between windows (preferably under 1 meter). Airflow should pass directly over the birds to reduce perceived heat. For floor-raised birds, inlet height should align with or slightly exceed net height; for caged birds, inlets should be 0.3–0.5 meters from the floor, with upper height exceeding cage levels.
Environmental Control
This includes regulation of temperature, humidity, and air quality. Ideal temperatures in fall and winter are between 18–25°C, with daily fluctuation no more than 8°C and hourly changes not exceeding 2°C. Proper negative pressure levels ensure consistent airflow and reduce cold stress.
Evaporative cooling (e.g., wet pads) is less effective in hot, humid climates, so increasing airflow is critical for lowering bird heat stress.
Before any design begins, geographic factors must be considered. Local design standards should be applied, including dry- and wet-bulb temperatures, winter heating design temps, elevation, and prevailing wind directions. Both cross and tunnel ventilation systems use negative pressure as a base. Smooth inner walls and ceilings improve airflow.
Regional climates—temperature and humidity—must guide ventilation system design, ensuring solutions are tailored to local conditions.
Lighting Design in Layer Cage Systems
During egg production in the layer chicken cages, lighting plays a key role and includes both natural and artificial lighting:
Natural Light: The duration and intensity vary by season—longer and stronger from winter solstice to summer solstice. At summer peak, daylight can last up to 14.5 hours, while in winter it may drop to just 9.8 hours.
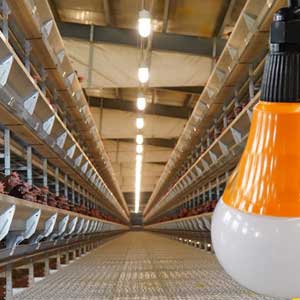
Artificial Light: This includes incandescent lamps, fluorescent lights, and LED sources:
- Incandescent: Cheap and easy to install but inefficient and short-lived.
- Fluorescent: More efficient (3–4× incandescent), longer-lasting but prone to flickering and light decay.
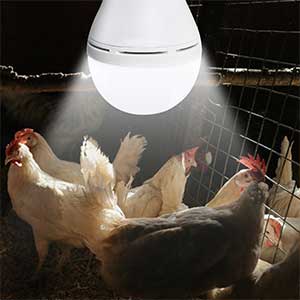
- LED: Energy-saving, long life, and color versatility—now widely adopted in modern poultry houses.
Lighting Management Modes
Open or Semi-Enclosed Houses: Natural light is supplemented based on seasonal needs. Adjustments are made to ensure birds receive adequate light during growth or laying, especially in winter or cloudy weather.
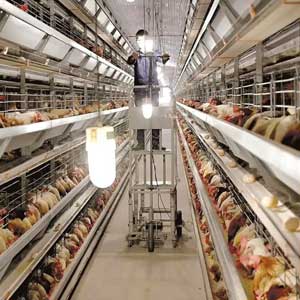
Enclosed Houses: Mostly use programmable LED lighting that adapts light duration and intensity to the birds’ physiological needs.
Pre-Laying Lighting Program Design
Design Conditions
House Type: Open, semi-open, or fully enclosed.
Light Source: Natural, incandescent, fluorescent, or LED.
Light Duration: Measured in hours (h).
Light Intensity: Measured in lux (LUX).
Color Temperature: Measured in Kelvin (K).
Uniformity: Consistency of light intensity across areas.
Design Strategy
Brooding Stage (0–6 weeks): Newly hatched chicks need over 30 LUX to eat and find water. First 3 days: Full light all day. Next 3 days: Gradually reduce by 2 hours to allow rest. Weeks 2–6: Maintain around 10 LUX. Lighting duration should only decrease, not increase.
Grower Stage (7–16 weeks): Light affects skeletal growth and body weight gain. Minimize bird activity. Keep duration stable.
Pre-Laying Stage (17–20 weeks): Light stimulates reproductive system and fat buildup. Follow “quick increase, then gradual” pattern. Monitor body weight and fat closely. Lighting duration should only increase, not decrease.
Reminders about Lighting Design in Chicken Layer Cage
01. Bird Needs
Light intensity should allow birds to eat and drink. Low light reduces activity and energy use, supporting weight gain.
02. Physiological Development
Early lighting affects bone growth; later, medullary bone development. Reproductive organs develop from week 10, so lighting changes must be carefully timed.
03. Nighttime Lighting
Used to manage underweight birds or during high summer temperatures. Avoid exceeding 1 hour to prevent memory formation.
04. Light Stimulus Timing
Start at 17 weeks based on body weight. Use “3+X” method: first 3 weeks increase 1h/week, then 0.5h/week.
05. Monitoring Light Intensity
Check the darkest area. With LED, check cross-shadow areas. During growing, ensure at least 5 LUX where birds share a water line.
06. Supplemental Lighting
In open houses, supplement based on natural daylight. In closed houses, use seasonal natural light as a base, then add more as needed.
In H-type cage systems, if light is insufficient, adjust lamp height or add LED strips to meet intensity requirements.
Lighting is a critical but often overlooked aspect of flock management. It is essential for proper bird growth, health, and productivity. A well-designed lighting and ventilation system lays the foundation for successful layer poultry farming.